Difference between revisions of "Add document"
From 1Archive help
| (One intermediate revision by the same user not shown) | |||
| Line 1: | Line 1: | ||
| − | + | {{warning|For both of below functionalities, all fields should be added manually. No recognition is performed.}}<br/> | |
| + | ===Adding a file manually=== | ||
| + | Via the [[image:add.png|link=]] "Add document" button you can manually create a document. This button is located in the left sidebar of the archive view. | ||
| + | <br/>{{note|More information on that left sidebar can be found [[Left_sidebar|here]].}}<br/> | ||
| + | The functionality available when manually creating a document is the same as for invoices that need to be validated. More information can be viewed on the ''[[Validating_invoices|"Validation invoices"]]'' page. | ||
| − | + | ===Adding a file via drag and drop=== | |
| + | When in the archive, it's possible to upload files via drag and drop.<br/> | ||
| + | Select files on your system and drag them to the 1Archive archive. A screen to indicate where the file(s) should be dropped is shown. Drop the files there. | ||
<br/> | <br/> | ||
| − | + | <br/>[[image:File_upload_draganddrop.png|link=]]<br/> | |
<br/> | <br/> | ||
| − | |||
| − | |||
| − | |||
| − | |||
| − | |||
| − | |||
| − | |||
| − | |||
| − | |||
| − | |||
| − | |||
| − | |||
| − | |||
| − | |||
| − | |||
| − | |||
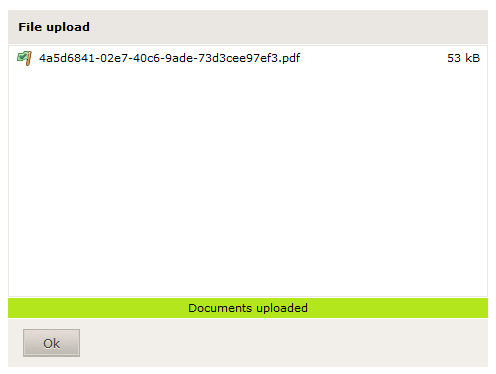
| + | Once the files are dropped, they are uploaded to the system. A screen to show you the progress appears: | ||
| + | <br/> | ||
| + | <br/>[[image:File_upload_draganddrop_uploaded.png|link=]]<br/> | ||
| + | <br/> | ||
| + | Clicking ''"Ok"'' in that screen results in the file(s) being added into the archive. | ||
| − | {{ | + | <br/>{{info|Files uploaded via drag and drop have the same status as files which are added via [[image:add.png|link=]] "Add document".}} |
Latest revision as of 10:22, 19 October 2016
| For both of below functionalities, all fields should be added manually. No recognition is performed. |
1 Adding a file manually
Via the ![]() "Add document" button you can manually create a document. This button is located in the left sidebar of the archive view.
"Add document" button you can manually create a document. This button is located in the left sidebar of the archive view.
| More information on that left sidebar can be found here. |
The functionality available when manually creating a document is the same as for invoices that need to be validated. More information can be viewed on the "Validation invoices" page.
2 Adding a file via drag and drop
When in the archive, it's possible to upload files via drag and drop.
Select files on your system and drag them to the 1Archive archive. A screen to indicate where the file(s) should be dropped is shown. Drop the files there.

Once the files are dropped, they are uploaded to the system. A screen to show you the progress appears:
Clicking "Ok" in that screen results in the file(s) being added into the archive.
| Files uploaded via drag and drop have the same status as files which are added via |